> For the complete documentation index, see [llms.txt](https://docs.chirpwireless.io/llms.txt). Markdown versions of documentation pages are available by appending `.md` to page URLs; this page is available as [Markdown](https://docs.chirpwireless.io/connectors/emulator-connector.md).
# Emulator Connector
Try Chirp before your sensors arrive — pretend sensors that make up their own readings, so your dashboards and alerts are ready on day one.
You have ordered a leak sensor. It arrives on Thursday. Until now there was nothing to do until then — no dashboard to arrange, no alert to set up, nothing to look at.
The Emulator fixes that. It gives you **pretend sensors that invent their own readings**, so you can lay out your dashboard, write your alerts, and watch them actually go off — days before anything turns up in the post. And when the real sensor does arrive, you point that same device at it and keep everything you set up.
## Why you would use it
* **To try Chirp properly before buying anything.** Set up the home you are thinking about and see whether it works the way you want.
* **To get everything ready while you wait for delivery.** The fiddly part of a new sensor is not sticking it to the wall — it is deciding what should happen when it reads something. Do that first.
* **To test an alert without ruining a Sunday.** Want to know your leak alert really reaches your phone? You do not have to pour water on the floor. Type the number and watch it fire.
## Setting it up
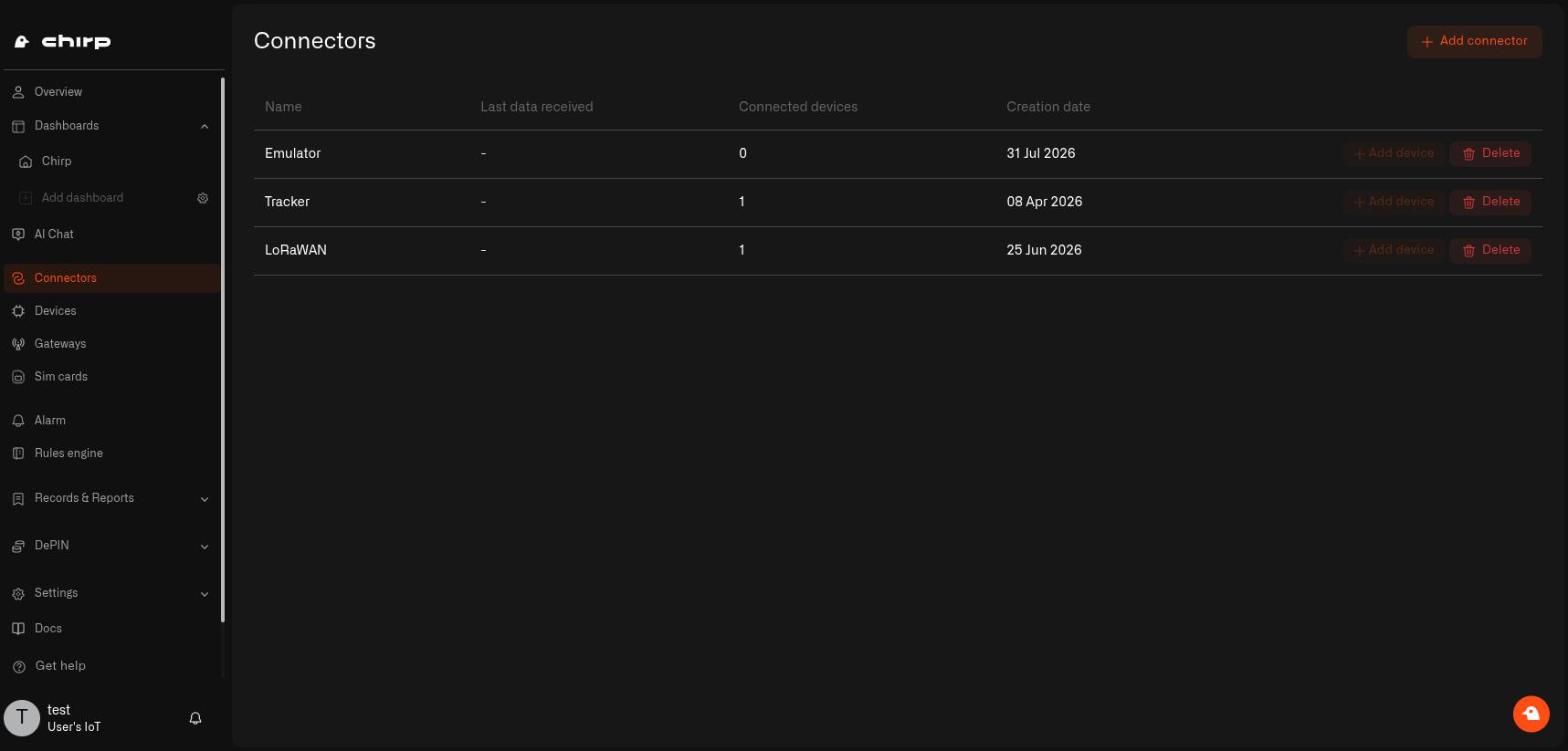
Go to **Connectors → Add connector** and pick **Emulator**. That's it — there is nothing to fill in, no account to link, no code to copy. One per home.
## Then make a pretend sensor
Everything else happens on the sensor itself, not here. Once the connection exists you add a sensor, point it at the Emulator, choose what it measures, and drive its readings from its own **Emulator** tab.
**See** [**Pretend Sensors**](/devices/pretend-sensors.md) for the whole thing: making one, picking a real sensor model, sending a reading to test an alert, and switching it over to the real sensor when it turns up.
## See also
* [Pretend Sensors](/devices/pretend-sensors.md) — make one, and make it send something
* [Adding Sensors](/devices/adding-sensors.md) — the normal way, once your hardware is here
* [Rules Engine](/rules-engine.md) — the automations you can now build early
* [Alarms](/alarm.md) — and the alerts you can finally test properly
---
# Agent Instructions
This documentation is published with GitBook. GitBook is the documentation platform designed so that both humans and AI agents can read, navigate, and reason over technical content effectively. Learn more at gitbook.com.
## Querying This Documentation
If you need additional information that is not directly available in this page, you can query the documentation dynamically by asking a question.
Perform an HTTP GET request on the current page URL with the `ask` query parameter, and the optional `goal` query parameter:
```
GET https://docs.chirpwireless.io/connectors/emulator-connector.md?ask=&goal=
```
`ask` is the immediate question: it should be specific, self-contained, and written in natural language.
`goal` is optional and describes the broader end goal you are ultimately trying to accomplish on behalf of the user. GitBook uses it to tailor the answer towards what is most useful for that goal.
The response will contain a direct answer to the question and relevant excerpts and sources from the documentation.
Use this mechanism when the answer is not explicitly present in the current page, you need clarification or additional context, or you want to retrieve related documentation sections.